Come Visit the Aperture Science Center
I went shooting with my friend the other day, and we played a little game I like to call Precision Poker. The way this game works is you staple a deck of cards to a target board. Each shooter takes a turn with 5 shots. If all 5 shots hit different cards then that is the shooter's dealt hand. If the shooter misses the target board entirely or hits the same card twice, or hits a card in someone else's hand, those shots are considered automatic discards. Each shooter has the opportunity to shoot up to 5 more rounds according to the cards he wishes to discard. You may choose the distance at which the game is played. With a standard size deck, I like to play at 50 yards.
So, long story short, I trounced my friend. He went first, and I spotted for him. I picked out a royal flush for him, but he missed. He missed every card I called. I felt pretty bad. And then I shot my royal flush with my first 5 shots. He folded. Then my girlfriend decided to frame and mount the target on the wall at home.
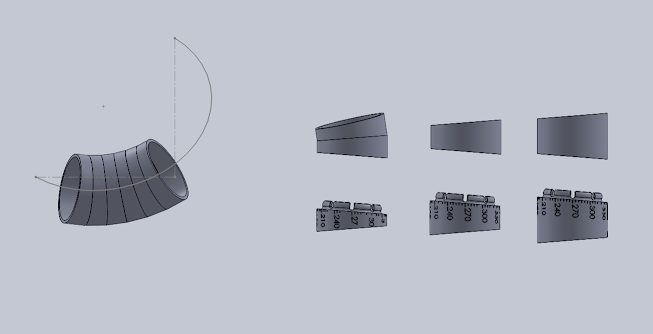
What I really wanted was for my friend to shoot as well as I did. So, I started thinking about a cheap way to get a repeatable target rifle that is inexpensive to shoot. Teaching the fundamentals of accuracy is my goal with this project. This pump .22 was the obvious test bed. So, I took a trip to the local hardware store and picked up a few things that might just fit the bill. Then I popped into Solidworks and started modeling. The photo below is the result of the first prototype.
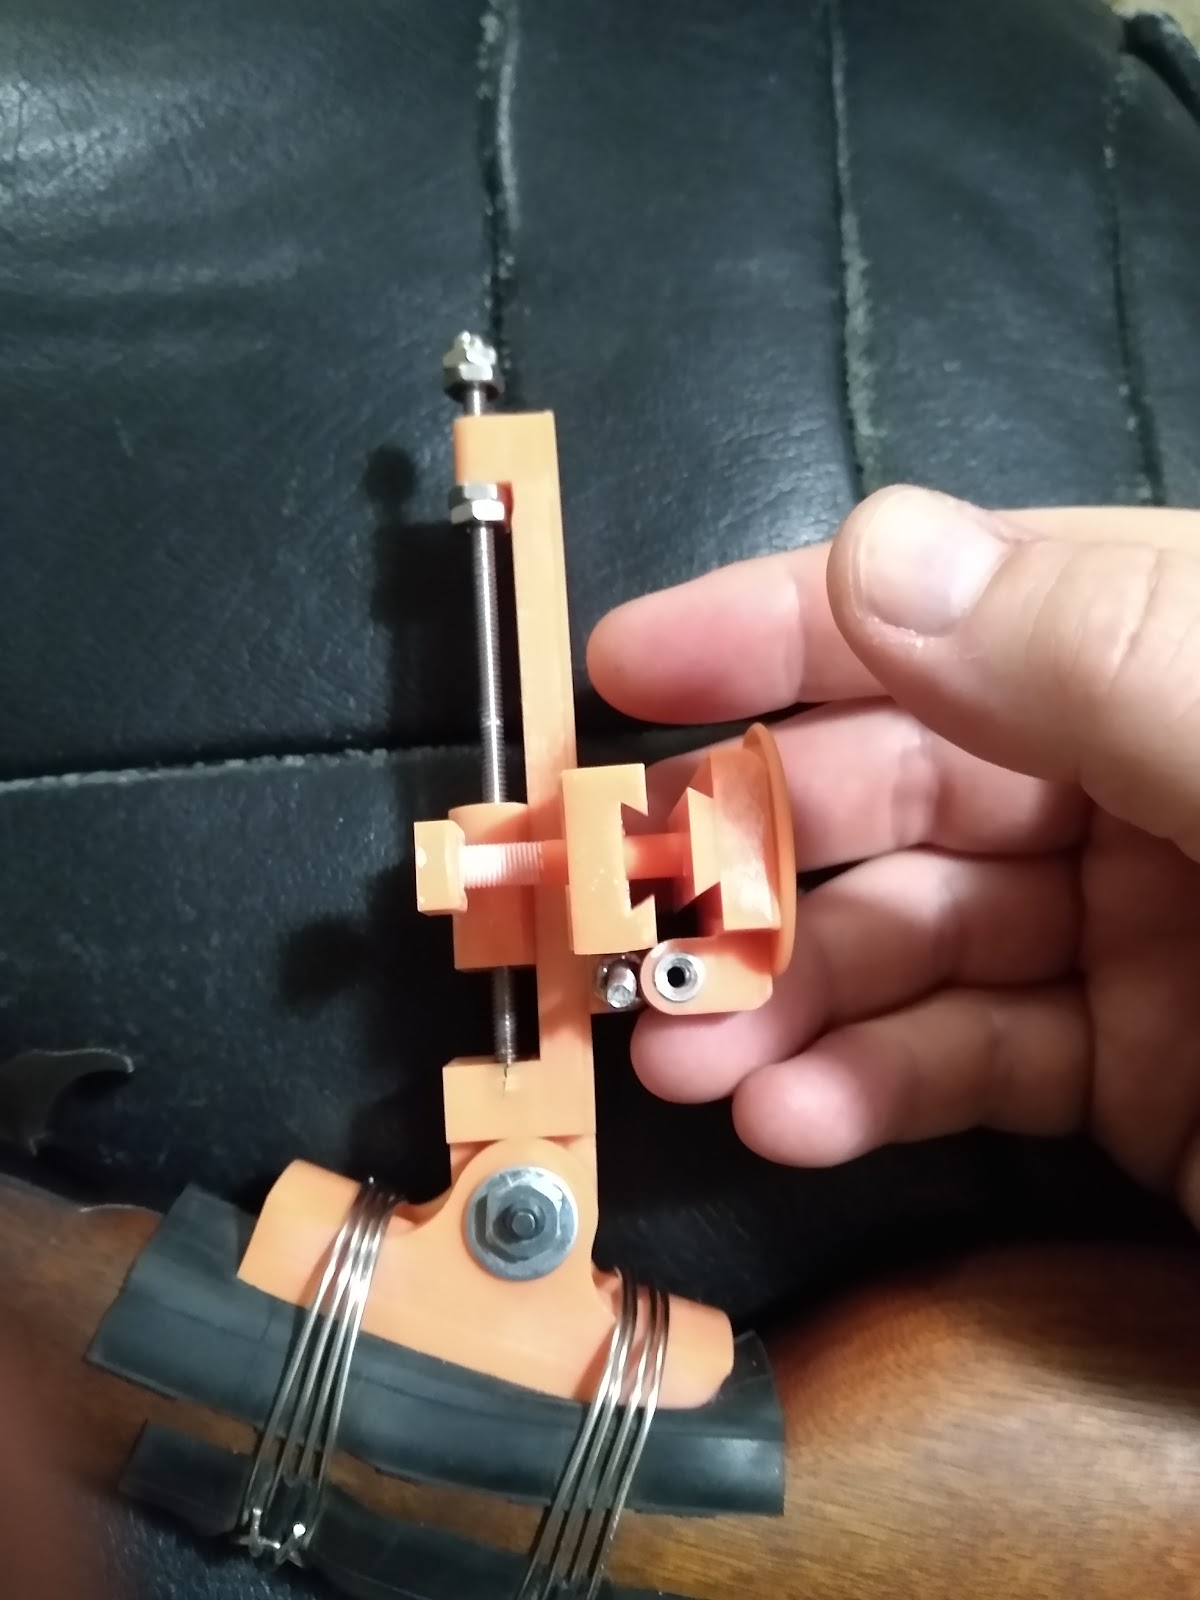
This first prototype is a Vernier peep sight with elevation adjustment only. My intention is to have a system that allows the shooter to take notes about his progress. Unfortunately, when I took the rifle to the range, the peep sight was hitting about 7 inches to the left at 50 yards.

For the second prototype I cut the elevation adjustment by a third and added a windage adjustment.

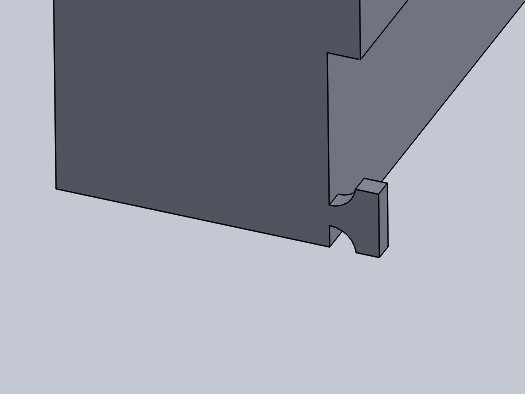
In this image you can see the separate parts of the contraption. This configuration has several problems. The first is illustrated in the last image. The eyepiece is so long that it obstructs the view of the front sight when the windage is adjusted to the extremes. The second issue is that the components require multiple dimensionally accurate faces in order to work properly and SLA printing is not accurate when dealing with overhangs or the first few layers of a print. Thirdly, the resin I have is translucent which means that the inside of the tube, behind the aperture is always bright.

I have learned a few new tricks thanks to this project. First, printing directly to the print bed without supports allows you to create 2 perfectly parallel surfaces. Keep in mind that X and Y will not be accurate in the first few layers. Also, if the parts are too large the first few overexposed layers will cause the part to warp away from the print bed. Second, supported structures are obviously not dimensionally accurate. You can see the waves in the surface were supports were removed. Third, this project has convinced me that I need to create a performance test for this printer and resin combination. When I am happy with the design I will post the printer files on Thingiverse.
To be continued...

Comments
Post a Comment